Last week, I ran the first session of my four week Writing Comics Workshop for Kids aged 8 – 12 years, at the Toronto Public Library. It was a lot of fun meeting the kids and discovering all the great ideas they had for comics.
As I promised in previous blog posts and to the good people who subscribe to Reading Change, my monthly newsletter, here’s a quick rundown of the activities we did during Session 1.
If you’re a teacher, you could adapt these activities to use in your own classroom.
Here are the activities for Writing Comics for Kids: Session 1. Enjoy!
Introductions: Getting to Know Each Other
The first day of a workshop always feels like the first day of school in a new year. Nobody knows each other. Everyone nervously finds a seat, slaps on a name tag and tries to look inconspicuous. Since we were going to meet weekly, I knew the kids weren’t going to become BFFs or anything, but I wanted to get to know a bit about each of them. That called for the dreaded Icebreaker Activity!
State Your Name & Favourite Comic: Our tables were in a U shape so that was close enough to a circle for what I wanted to do. After introducing myself, I asked each of the kids to tell us their name and their favourite comic. This is a great way to find connections between strangers because I knew at least 3 kids would list Bone as their favourite – they always do (it is a great comic.)
Behind the Scenes: How Comics are Made
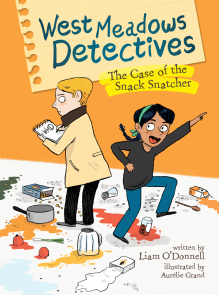
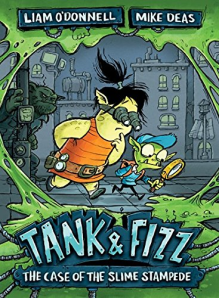
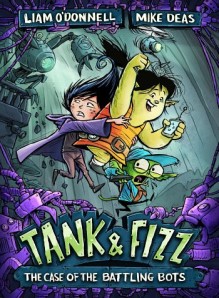
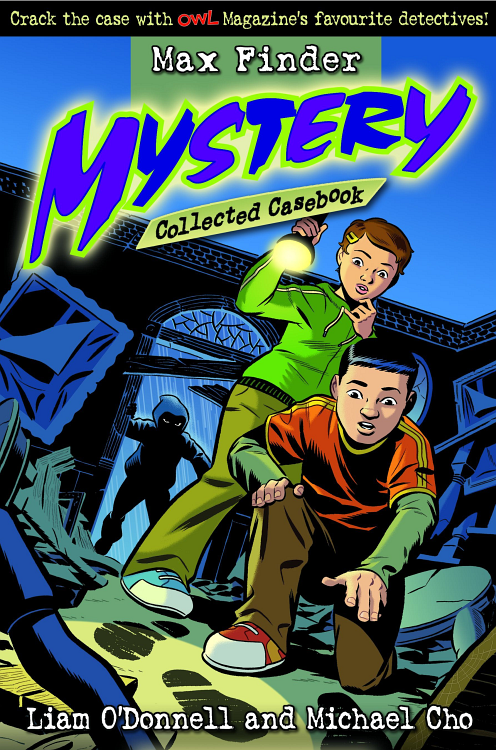
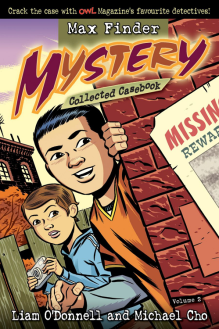
After the ice breaker activity, I took the kids through the stages of how I (with the help of many amazing people) created the Max Finder Mystery comic for Owl Magazine. I showed them my notebook scribblings, rough drafts of scripts and some sketches from Michael Cho, who illustrated the early Max mysteries.
You can do this, too! Examples of Mike’s sketches are in the back of Max Finder Mystery: Collected Casebook Volume 2 and examples of my writer’s notebook and scripts are in the back of Max Finder Mystery: Collected Casebook Volume 3.
Planting Creativity Seeds with Opposites
Now that the kids had seen how comics get made, it was time to get them creating their own. We started by having them plant seed for their story idea. Each story starts out with one idea for a plot or a character and grows from there like a plant. We needed to find that seed and get it growing. To do that, I like to play the “What if . . .” game.
“What If . . .” This is a great brainstorming activity. The kids wrote the words “What if . . .” at the top of their notebooks and then drew a line down the middle of their page below that. On the left side of the line, they wrote the word “Person/Place/Thing”. On the right side of the line they wrote “Actions”. Here’s a What If Story Starter Template [pdf] for you to download.
I challenged them to think of a “thing” to put in the left column – a character or animal is a good place to start, like a ninja or a whale.
Then they ask themselves “What if ninjas . . . .” and then write down the wackiest action they can think of in the right column under “Actions”. I encouraged the kids to put together things that don’t normally go together, things that are opposite of each other. For example, “What if ninjas . . . did ballet!” “What if a whale . . . went ice skating.”
With their heads bursting with ideas, they got to work and wrote a long list of zany “What Ifs . . . ” After about 10 minutes, we stopped and they shared their ideas. It was a lot of fun to hear some of their wacky characters and ideas. Our creativity was officially flowing!
Storming the Brain with Webs
Now that everyone was in their creative zone, it was time for the final activity of the session: The Brainstorm!
Now it was time to pick one zany idea they just created in the “What if . . .” exercise and flesh it out to see if it will make a good story. I handed out a blank Brainstorm Web Template [pdf]. Each of them picked an idea they just created and put it in the middle of the web. Around the centre circle, they put more ideas for this character: problems he/she could face, friends or enemies they could have, anything they could think of.
More fantastic creativity followed. After another 10 minutes, we gathered and shared some of our ideas.
Wrapping It All Up
And suddenly, we were out of time. The kids went off with the task to complete their Brainstorm Webs and be ready to add to their story idea for next week.
With our creativity seeds planted and our brains sparking up a storm, our session ended with lots of chatter and sharing of ideas. It was great.
Tips for Teachers
Our session lasted 90 minutes with a quick break in the middle. For teachers in a classroom, you could break Session 1 into two parts to give your kids time to really have fun with the “What if . . .” and the Brainstorm Web activities.
I gave each student a two-pocket folder to store all their writing, which I called their Writer’s Portfolio. I also gave them a a very basic lined notebook, that I called their “Writer’s Journal”. This helped them keep their writing in one place and hopefully will inspire them to write more during the week between sessions. We’ll see!
What’s Your Creative Writing Tips?
Next Week, I plan on having them dig deeper with creating characters and creating plots. I’ll post those activities here too.
What do you think of Session 1? What creative writing activities have you tried that have worked or even failed? Did I miss anything? Let me know in the comments. I’d love to hear from you!
–-
As an award-winning children’s author, gamer-geek and elementary school teacher, I often have teaching ideas and writing news to share with fellow educators. I deliver these resources and ideas to your inbox in my e-newsletter Reading Change.
If this sounds like something you’d like to receive, then subscribe to Reading Change.
You can unsubscribe anytime and I won’t share or sell your data. Honest.
Thanks!
Liam